
Daylilies add a pop of color to gardens, which is why they're so popular. Their vibrant blooms, combined with their hardy nature, make them favored among garden enthusiasts. If you're thinking about adding these flowers to your home but aren't sure how to make them thrive, you've come to the right place! Below, we'll discuss how to grow daylilies, the best tips for care, and what to expect from these lively flowers.

Daylilies are perennials that are similar to lilies but not quite the same. Although daylily has the term "lily" in its name, daylily flowers belong to the Hemerocallis genus, and unlike true lilies, they don't grow from bulbs. Daylilies have beautiful trumpet-shaped blooms that only last a day. However, they have many flower buds, which means a constant display throughout the season. This unique feature sets them apart from lilies, which typically have larger, long-lasting flowers.
Follow these tips for planting daylily flowers to ensure they have the best chance to bloom.
 |
Prepare the soil. Choose loose soil that's well-draining and contains organic matter. Incorporate compost to improve fertility and structure. Avoid waterlogged or compacted soil. |
 |
Dig the planting hole. Dig a hole big enough for the roots and deep enough to cover the crown. The right size is about twice the diameter of the root system. |
 |
Spacing. Plant daylily buds about 12 to 18 inches apart to prevent overcrowding. |
 |
Place the bulb. Gently place the daylily buds in the hole and spread the roots. Align the crown to the soil level. Fill the hole with soil and pat it down gently. |
The best place to plant daylilies is somewhere they can receive at least six hours of direct sunlight per day. While daylilies can handle partial shade, they generally flower best in full sun. When choosing a planting site, make sure to also consider spacing needs to prevent overcrowding and promote proper air circulation among the daylilies.

The best time to plant daylilies is typically in the early spring or late summer to early fall. Planting in the early spring helps the daylilies to establish their root systems before temperatures get too hot. Planting in late summer to early fall gives them plenty of time to acclimate before winter. Avoid planting them in extreme temperatures, such as the peak heat of summer or the freezing temperatures of winter.
Caring for daylilies involves a few key steps to ensure they thrive. These include:
 |
SunlightDaylilies flourish in full sun. Give them at least six hours of direct sunlight to ensure optimal blooming. Providing your daylilies with some shade in the afternoon can be helpful if you live in an area with intense heat. |
 |
Soil ConditionsPlant daylilies in soil that's rich in organic matter and well-draining. Choose a soil that's fertile with a slightly acidic to neutral pH. Consider mixing the soil with compost to maintain fertility and enhance soil structure. |
 |
WateringDaylilies need consistent moisture, especially during their active growing season. Water the soil deeply if it's dry, but avoid waterlogged soil. Add some mulch around the bottom of the plants to help retain soil moisture, prevent weeds, and regulate temperature. |
 |
Best TemperatureThese are tough plants that can withstand most temperatures, but they generally grow better in moderate conditions. |
|
FoodDaylilies don't need fertilizer if the soil is decently fertilized. However, you can promote stronger blooming by adding fertilizer in early spring before new growth starts and again after the first bloom cycle. |
Deadheading is an essential step in caring for daylilies and keeping your garden clean. To deadhead daylilies, pinch or snip off the spent flower stalks close to the base and make sure to remove the entire spent blossom. Regular deadheading throughout the blooming season encourages the development of new buds and promotes the continuous display of vibrant flowers.
|
1
|
Trim. |
|
2
|
Dig up clumps. |
|
3
|
Divide into healthy clumps. |
|
4
|
Replanting. |
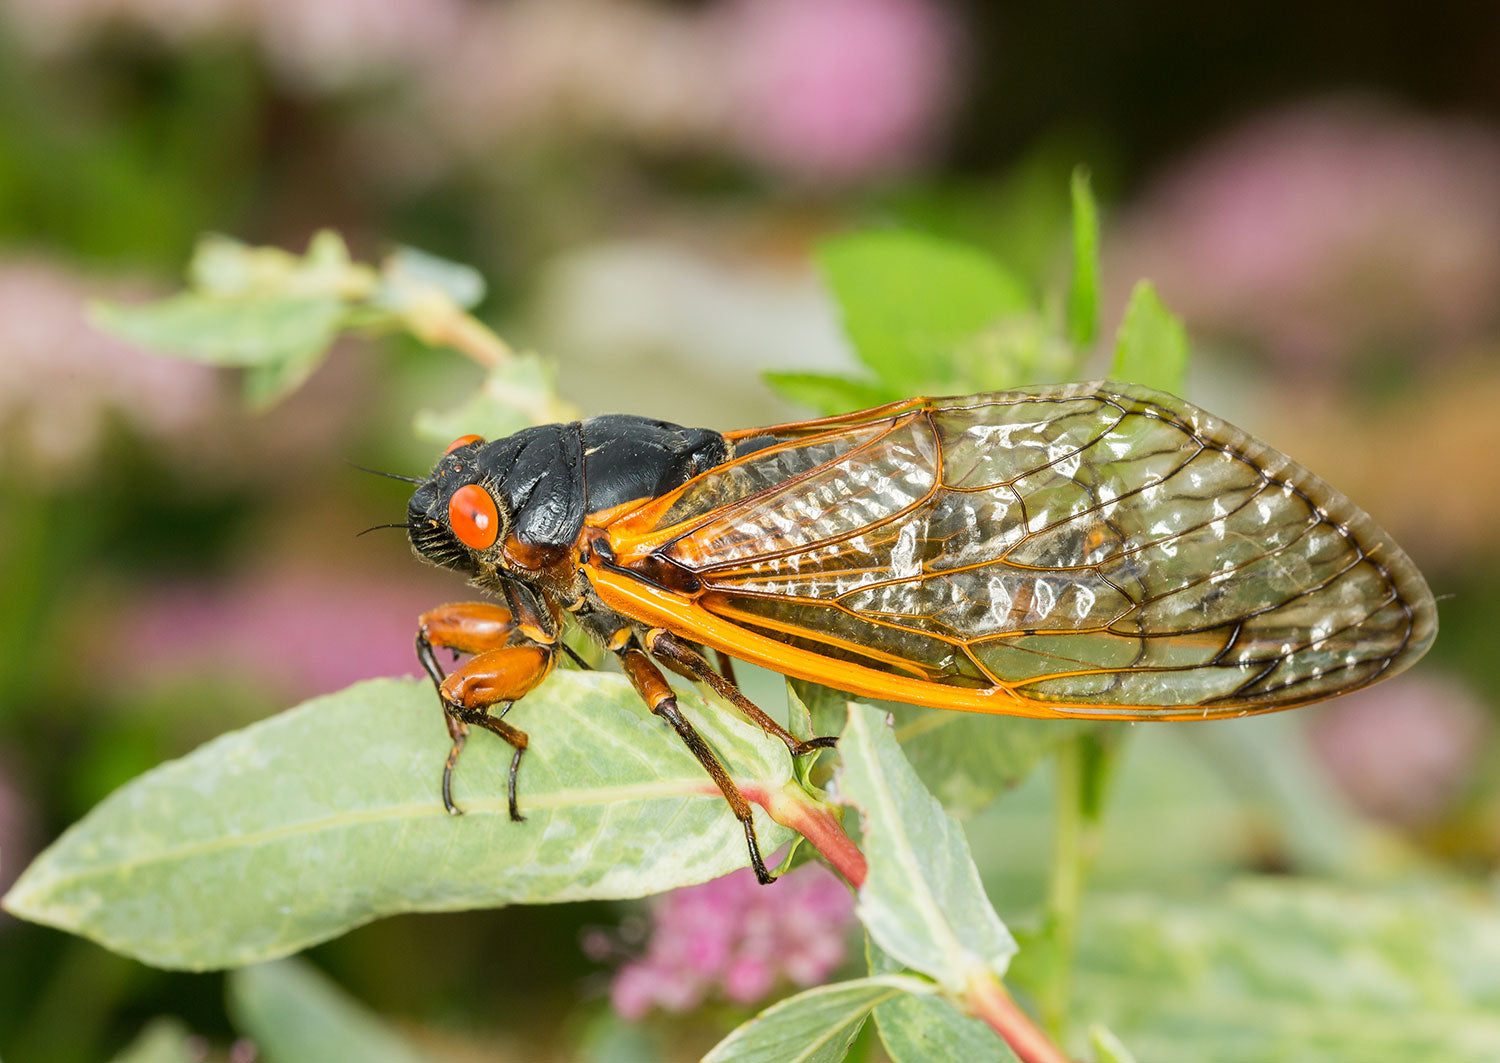
The best way to prevent pests is to remove dead foliage and debris from your garden regularly. Inspect your daylilies often to check for signs of pests like aphids or spider mites. If you find any, treat them with insecticidal soap or neem oil.
There are thousands of daylily flowers, but the most common ones include:
- Lemon Lily
(H. lilioasphodelus, H. flava) - Stella D'Oro
- Citron Lily (H. citrina)
- Crimson Pirate
- Autumn Red
- Purple D'Oro


Now that you know how to take care of daylilies, it's time to add them to your garden! To ensure proper garden care, check out our products at Dalen. We offer several solutions designed to promote plant health and vitality. Explore our products today to take the next step towards a healthy and flourishing garden!